Welcome back to part 2 of the Haskell roguelike tutorial! In the previous part we added a player that we could move around with the arrow keys and WASD.
This isn’t particularly fun or exciting, so in this part we’re going to add a basic map to move around in. This also marks the start of 3 parts (well, 2 parts - but one is split in two) of designing our game’s architecture. In this part we’re going to add a tile map, and in the next part we’re going to add objects (rather than treating the player as just a graphic with a position) and also introduce optics to finally deal with the headache of nested record updates.
As we’re going to be introducing a bunch more modules and importing a bunch from roguefunctor, I will be condensing some of the code snippets compared to the example repository - I’ll cut out explicit import and export lists. It’s good practice to make these explicit - and the full code provided will have them to make it clear what is imported from where - but it gets a bit messy to keep updating the imports in each snippet here.
Optional: Upgrading our font
BearLibTerminal ships with a default font built-in (literally; it’s hard-coded in as a raw string of bytes) which is fine but it’s a little ugly. It also has the minor annoyance that, like most fonts, it’s not square. This is fine for writing, but less good for a tile-based game. It’s very noticeable if you make diagonal lines, where you seem to be going vertically twice as far as horizontally. One font I particularly like is Kreative Square. It’s a monospace square font that looks pretty good, has a bunch of special characters that are handy for roguelikes (box drawing, shapes, and the like) and – most importantly for this tutorial – has a very permissive license. The font is completely free to download here. The libraries support any bitmap (.bmp) or TrueType (.ttf) font. For full details of configuration options, check the BearLibTerminal configuration documentation.
All we need to do to use this new font is to place the KreativeSquare.ttf file in the root folder of our project and then tell the library the font we wish to use as the default:
main :: IO ()
main = do
  withWindow
    defaultWindowOptions { size = Just screenSize }
    initGame
    (const $ evalStateT runLoop (WorldState initialPlayerPosition False))
    (return ())

initGame :: MonadRogue m => m ()
initGame = do
  terminalSet_ "font: KreativeSquare.ttf, size=16x16"
The only required parameter for .ttf fonts is the size to be rendered at (in pixels). As we don’t need to set any alignment – it will all be calculated automatically – it’s just plug and play. If you’re not a fan of how stringly-configured BearLibTerminal is, there exist nice typed versions too:
initGame :: MonadRogue m => m ()
initGame = do
  terminalSetOptions_ $ defaultTrueTypeFontOptions { font = "KreativeSquare.ttf", size = V2 16 16 }
which will function identically. If you run it now, you should immediately see the window has grown somewhat (because we’re now using a bigger font) and also it looks slightly less dated. If you’re wondering about having graphical tiles, worry not! They are, actually, very easy to do without having to remember whether “g” maps to a corner wall or an edge wall. Just for a later part. :)
Making an (empty) map type
The Renderable type
So let’s think about what we need from our map type. A map should be some sort of 2D array of Tiles, where each Tile has some properties – for example, the colour and character to use to render it, and what type of tile it is (right now, that’ll be a floor or a wall). Ah, but we also need at least some of this for rendering other things – such as the player. Let’s make a type to represent anything renderable; nothing complicated, just a character and a colour. In HsRogue.Renderable:
module HsRogue.Renderable where

import HsRogue.Prelude
import Rogue.Colour ( ivory, lightSlateGray, mediumSeaGreen, Colour )

data Renderable = Renderable
  { glyph :: Char
  , foreground :: Colour
  } deriving (Eq, Ord, Show, Generic)
Fairly straightforward. We can also now define the three renderables we want to use currently (the player, a wall, and the floor). The colours I’ve picked are purely arbitrary - in Rogue.Colour you’ll find functions for making and modifying colours based on RGB values as well as the 140 named colours from the HTML specification to save you writing in hexcodes - for an overview, you can see them all here - https://www.w3schools.com/tags/ref_colornames.asp. Colours are simply represented as 32-bit integers under the hood, so you can define your own colours with hex notation directly – such as Colour 0xFFFF69B4 for hot pink.
playerRenderable :: Renderable
playerRenderable = Renderable '@' ivory

floorRenderable :: Renderable
floorRenderable = Renderable '.' lightSlateGray

wallRenderable :: Renderable
wallRenderable = Renderable '#' mediumSeaGreen
I’ve gone for a simple off-white for the player, a light grey for the floor, and a green for the walls.
The Tile type
Let’s make another new module and call it HsRogue.Map. We’ll start with a couple of types for each individual tile. We don’t actually need the TileType, because we store the properties of the tile independently. However, it does make things easier to debug when you need to print a tile to see why something isn’t working! The alternative - where a tile is actually just a TileType and walkable and renderable become functions that look like TileType -> Bool and TileType -> Renderable respectively - would work too, but it would mean we cannot ever have a ‘different’ floor tile. The intent here is to have TileType be a generic classification into floors or walls or pits or grass or whatever, but to determine if something is walkable is done per-tile.
module HsRogue.Map where

import HsRogue.Prelude
import HsRogue.Renderable

data TileType = Floor | Wall
  deriving (Eq, Ord, Show, Generic)

data Tile = Tile
  { tileType :: TileType
  , renderable :: Renderable
  , walkable :: Bool
  } deriving (Generic, Show)

floorTile :: Tile
floorTile = Tile Floor floorRenderable True

wallTile :: Tile
wallTile = Tile Wall wallRenderable False
We can do a similar thing to Renderable here, where we can define the single copy of a generic wall tile and a floor tile. Thanks, immutability!
At last, a tilemap
Then for making the actual map, we can use the Rogue.Array2D.Boxed type. It’s a convenient wrapper around vector (which are contiguous-in-memory arrays with O(1) lookup time) that allows us to pretend it’s a 2D array that we can index with a 2D coordinate (V2). There are a few different 2D array implementations in the library - Boxed is the one you’ll probably want, as it allows for making arrays of any sort of Haskell type. There’s also Array2D.Unboxed, roughly for types that are ‘primitive’ (such as integers) which has better performance, and a version that uses mutable vectors.
A warning: the one downside of vector in Haskell is that making a change means the entire vector has to be copied. That makes updating a vector (or an Array2D) potentially quite slow. For the most part as long as you’re not doing it hundreds of times a second, you should have no problem! One way we will try to avoid this, especially for building the map, is to combine all of our update operations into one. There’s even an operator - @// :: Array2D a -> [(V2, a)] -> Array2D a - for doing bulk updates.
import Rogue.Array2D.Boxed ( Array2D )
import Rogue.Colour ( Colour )

data Tiles = Tiles
  { tiles :: Array2D Tile
  , defaultBackgroundColour :: Colour
  } deriving (Generic, Show)
We also add a field for the background colour just to avoid any rendering bugs further down the line. We could hardcode a terminalBkColour black but this avoids us forgetting. Let’s add an empty map to our WorldState and render it. In Main.hs:
data WorldState = WorldState
  { playerPosition :: V2
  , tileMap :: Tiles -- we added this
  , pendingQuit :: Bool
  }

main :: IO ()
main = do
  withWindow
    defaultWindowOptions { size = Just screenSize }
    initGame
    (evalStateT runLoop)
    (return ())

initGame :: m WorldState
initGame = do
  return $
    WorldState
      { playerPosition = initialPlayerPosition
      , tileMap = replicateArray floorTile screenSize
      , pendingQuit = False
      }
replicateArray makes a new array filled with copies of the given element (in this case, floor tiles) with a given size.
If you updated your font, the initGame function won’t be new. If you didn’t, then we’re simply moving the world creation logic into its own function. It may seem redundant that it is a monadic function when we just return pure data - and that’s correct, but very shortly (when we want to use some randomness to make our map) we’ll need to be in MonadIO anyway. The last part is to render the tile map. We need to iterate over every tile in the array (along with its coordinates), set the currently active foreground and background colours, before drawing the relevant tile at its coordinates. As we only have one background colour for the entire map (for now), we can set this just once at the start of the rendering call. We can use traverseArrayWithCoord to iterate an array and perform some operation:
traverseArrayWithCoord ::
  Monad m -- we're wanting to map over the array with some sort of side effects, so it is collected in a monad context
  => Array2D a  -- given an array of `a`s..
  -> (V2 -> a -> m b) -- and a function that produces a `b` (with some monadic effects, potentially)
  -> m (V.Vector b) -- sequence all those effects and return a new vector with the new elements.
If you don’t need to calculate the returned vector (e.g. you just want to do some effect like printing, meaning your function looks like V2 -> a -> m () and you’d be producing a V.Vector ()) you can ignore it with traverseArrayWithCoord_ like we do here. Similarly, if you don’t need the coordinate of the element you can use traverseArray/traverseArray_.
runLoop :: GameMonad m => m ()
runLoop = do
  terminalClear
  renderMap
  ...

renderMap :: GameMonad m => m ()
renderMap = do
  w <- get
  terminalBkColour (defaultBackgroundColour (tileMap w))
  traverseArrayWithCoord_ (tiles (tileMap w)) $ \p Tile{..} -> do
    terminalColour (foreground renderable)
    printChar p (glyph renderable)
Here I’m using RecordWildCards to shortcut manually expanding the Tile constructor. You can either add it to your default-extensions in your *.cabal file, or add {-# LANGUAGE RecordWildCards #-} at the top of the module. We set the active background colour once, and then for each individual tile we set the active foreground colour before printing it at its coordinate. We then add the rendering to the main loop.
If you compile and run it now, you’ll notice the entire world is now floor and you can walk around on it! However, it’s quite boring and you can still proceed to walk off the side of the screen. Let’s make it more exciting.
You might also notice that the player is the same colour as the floor! We can adjust this by either setting the colour before drawing the @, or by wrapping the print in [color=white][/color] tags with textColour:
runLoop :: GameMonad m => m ()
runLoop = do
  terminalClear
  renderMap
  playerPos <- gets playerPosition
  printText_ playerPos (textColor "white" "@")
Making an interesting map
We’ll make a new module for our various map generators. In a much later part, we’ll want to revisit these to make them truly modular and combinable. We’ll put all of our map generator utilities in HsRogue.MapGen.
module HsRogue.MapGen where

import HsRogue.Prelude

import HsRogue.Map

import Rogue.Array2D.Boxed ( replicateArray, Array2D )


emptyWallMap :: V2 -> Array2D Tile
emptyWallMap = replicateArray wallTile

emptyFloorMap :: V2 -> Array2D Tile
emptyFloorMap = replicateArray floorTile
Let’s start with the basics: we’ll have both sorts of empty (or filled, I suppose) map. We already saw a use for the empty floor map, and we’ll use it shortly for placing random walls - we’ll start with all floor and then place walls. The empty wall map is handy for doing the opposite - starting with all the walls and digging out some rooms and corridors.
Map 1: Random walls
Emphasis on the word ‘random’.
Brief overview of random number generators
If you’re not aware of how randomness works in programming, in short:
- You provide some starting value (the seed). Giving the same seed will give the same sequence of random numbers every time. Sometimes you’ll want to specify this, but normally it’s generated off the current time.
- This seed value goes into a complicated calculation that generates a state (a big number) for the generator. This is often called the ‘generator state’.
- Every time you want to generate a random number, the generator state is plugged into that complicated calculation. This spits out a random number and a new value for the generator state. Then, you update the generator state to this new value.
It’s not actually random: however to the human eye, the numbers seem to be completely random.
There’s usually two options for doing (pseudo-)randomness in Haskell with the random package:
- You can manually keep track of your generator state
g. You then use pure functions that look likerandom :: g -> (a, g)- given a generator state, produce a newly updated generator state and a randoma. - You can use a global variable that keeps track of the generator state for you. As this global variable lives in the
IOmonad, all your functions for doing randomness are in the IO monad - they look likerandomM :: IO a.
Roguefunctor does a bit of both. It does use the pure functions, but the generator state is stored in the RogueT monad transformer. Remember back to withWindow where we said that the “main loop” parameter was not IO but instead something else with IO in it? This is why - we keep a separate state for things like the RNG state. The RogueT transformer implements the MonadRogue typeclass that allows for manual get/set, on which the Rogue.Random module is based. All we need to do is add MonadRogue m to our constraints (it was already in the stack! Just without the constraint we’re not declaring that it’s able to be used) on whatever function we want randomness in and off we go.
tl;dr if you want randomness, add MonadRogue m to your constraints and check out the functions in Rogue.Random.
Mr Gorbachev, generate these walls
Our first goal will be to write a function that takes in some dimensions and a number of walls and places random wall tiles. We’ll also add a border around the entire map. First, let’s make a list with N random coordinates in.
import Rogue.Monad ( MonadRogue )
import Rogue.Random ( randomPoint )

emptyRandomMap :: MonadRogue m => Int -> V2 -> m (Array2D Tile)
emptyRandomMap numberOfWalls size = do
  randomWalls <- mapM (\_i -> randomPoint (V2 0 0) size) [1..numberOfWalls]
  ...
Repeating something N times can be done with map. Repeating something monadic N times can be done with mapM. For each index between 1 and the total number of walls, we call randomPoint :: MonadRogue m => V2 -> V2 -> m V2, which generates a random point within a given range. This will give us a list of random coordinates. There may be duplicates - but that’s fine; we don’t really care if we ask for 100 walls and only get 98 unique entries.
Next up, let’s add a border around the window. Easy enough, we can simply make a Rectangle, get the list of points on the edge of it, and combine it with the random points we chose.
let outsideBorders = rectangleEdges (rectangleFromDimensions (V2 0 0) size)
    allWalls = outsideBorders <> randomWalls
To update the array, we need a list of (coordinate, new value) pairs from our list of coordinates.
asWallTiles = map (\wallCoord -> (wallCoord, wallTile)) allWalls
-- or
asWallTiles = map (, wallTile) allWalls
return $ emptyFloorMap size //@ asWallTiles
Both of these are exactly the same - but tuple sections (enabled with the TupleSections extension) are more concise and IMHO clearer. We finish by returning the all-floor map, updated this list of replacements with the //@ operator. Putting the whole function together gives us:
import Rogue.Array2D.Boxed
import Rogue.Geometry.Rectangle
import Rogue.Monad
import Rogue.Random

emptyRandomMap :: MonadRogue m => Int -> V2 -> m (Array2D Tile)
emptyRandomMap numberOfWalls size = do
  randomWalls <- mapM (const $ randomPoint (V2 0 0) size) [1..numberOfWalls]
  let outsideBorders = rectangleEdges (rectangleFromDimensions (V2 0 0) size)
      allWalls = outsideBorders <> randomWalls
      asWallTiles = map (, wallTile) allWalls
  return $ emptyFloorMap size //@ asWallTiles
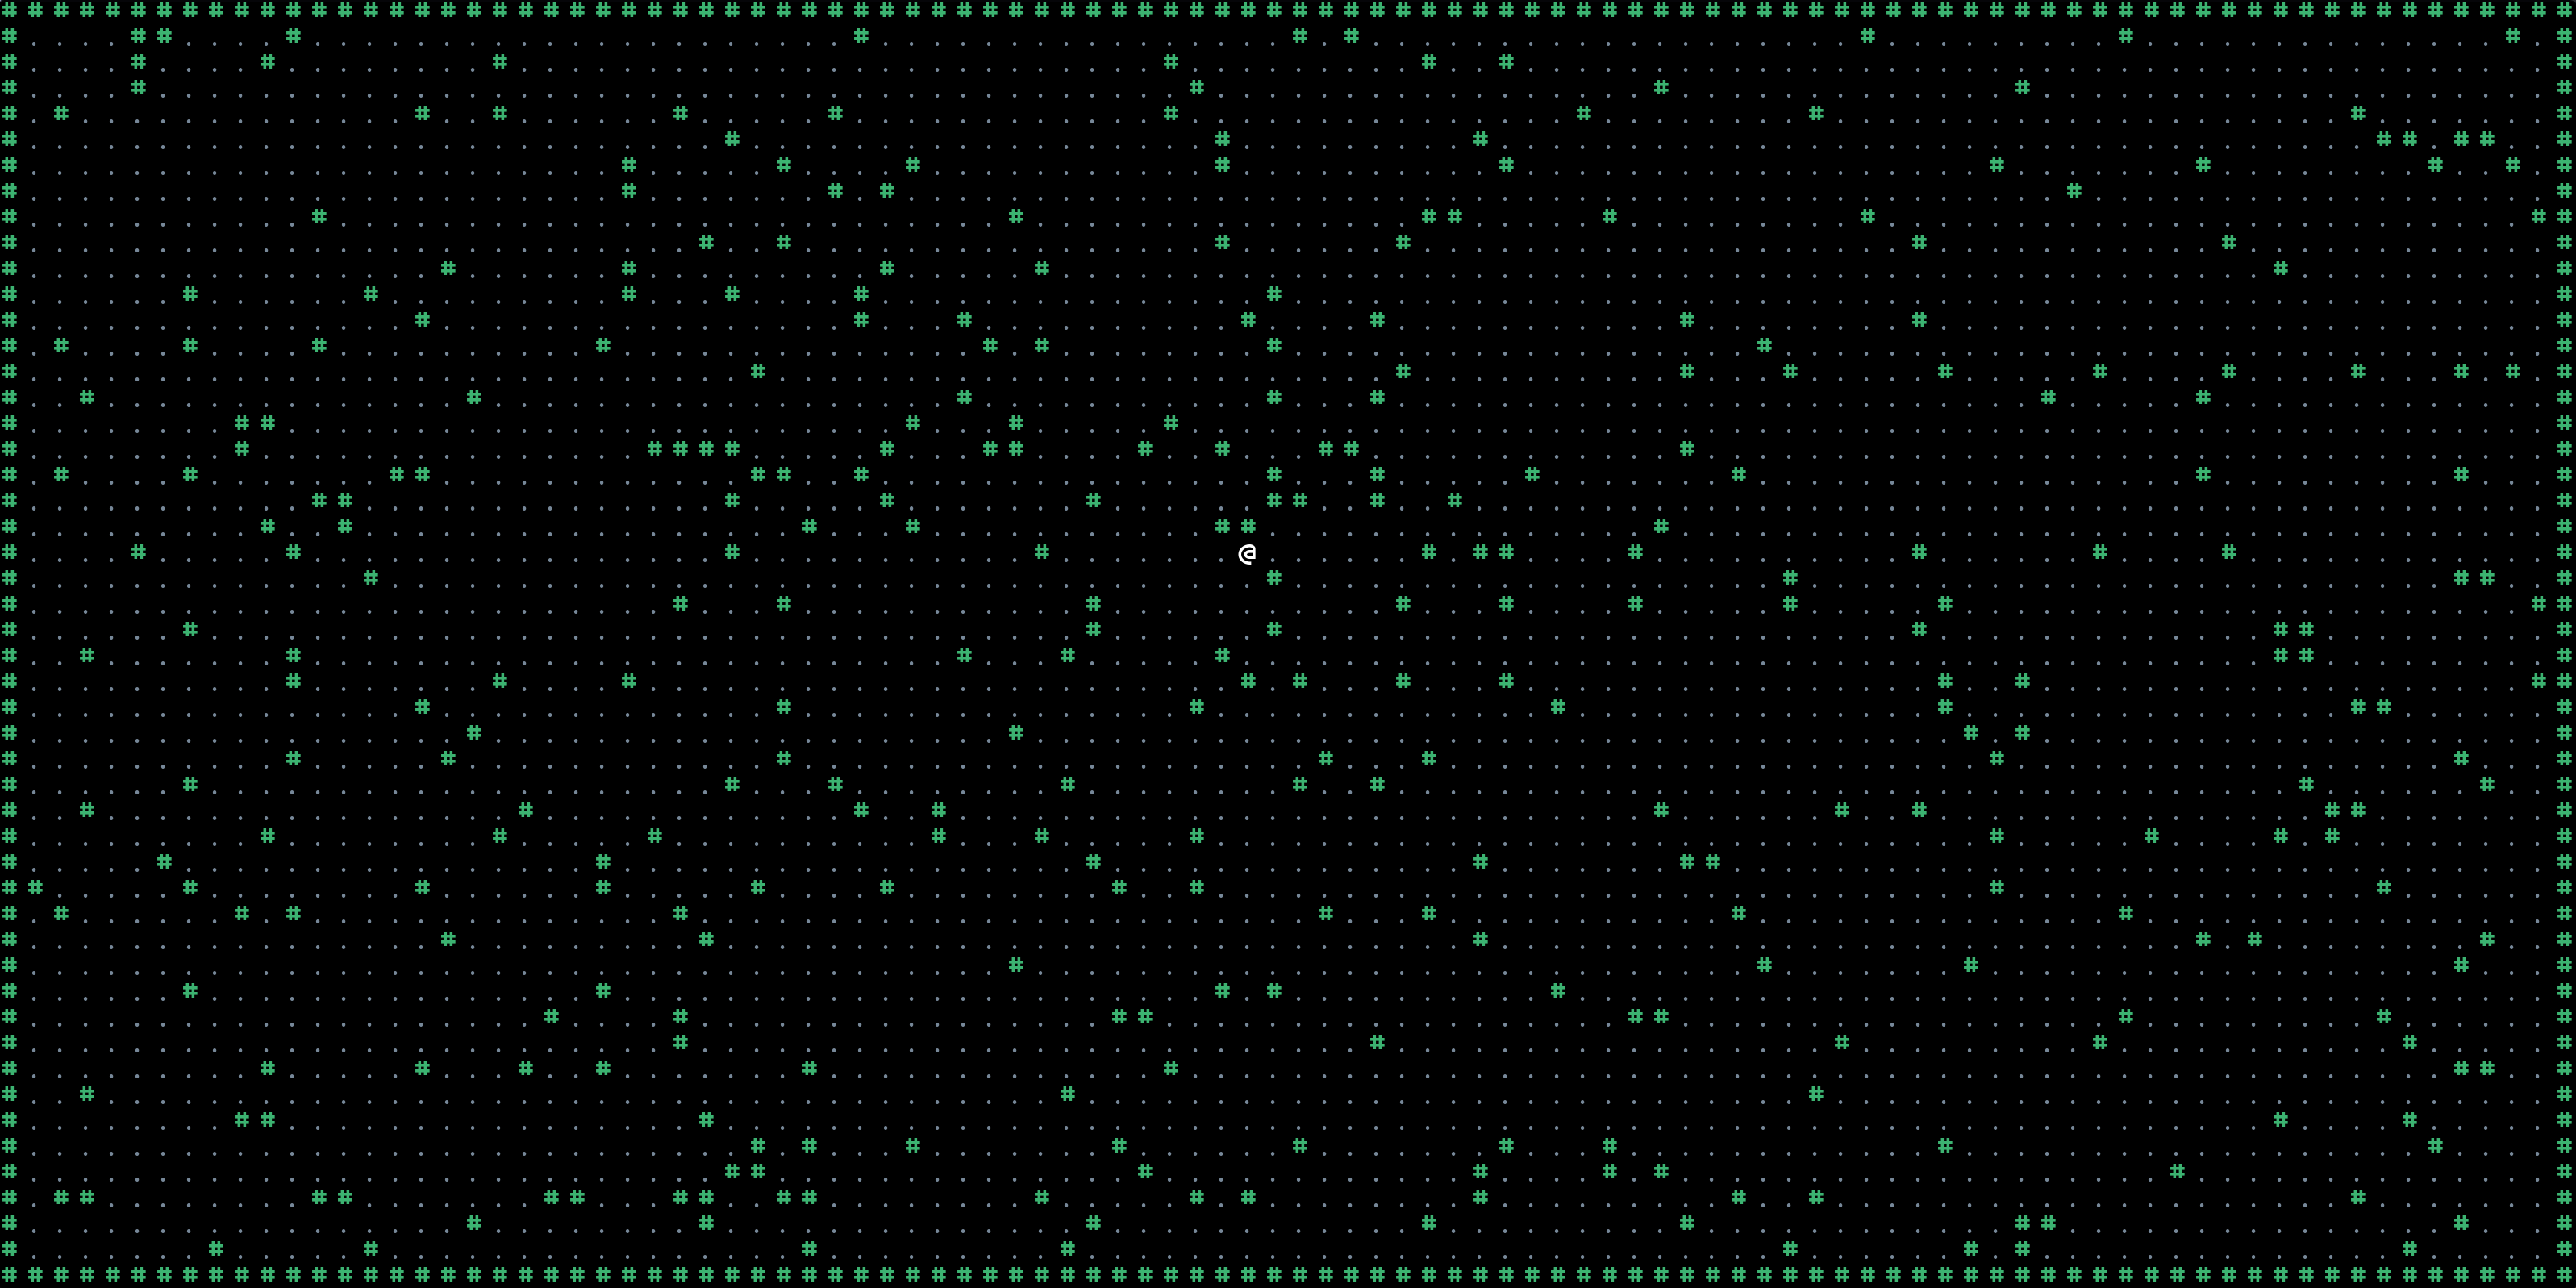
We can use it in our world initialisation and then run it and success! A more interesting game already. It’s still a bit easy to get around though. Let’s work on making an actual dungeon.
initGame :: m WorldState
initGame = do
  randomMap <- emptyRandomMap 100 screenSize
  return $
    WorldState
      { playerPosition = initialPlayerPosition
      , tileMap = randomMap
      , pendingQuit = False
      }
Map 2: I am a dwarf and I’m digging some rooms and corridors
Onto our second map. For this one, we want to start with a fully walled-in map and then dig out some rooms and corridors. Let’s make a function for digging out a rectangle first.
digRoom :: Rectangle -> Array2D Tile -> Array2D Tile
digRoom rect m = m //@ map (, floorTile) (rectanglePoints' rect)

digRooms :: [Rectangle] -> Array2D Tile -> Array2D Tile
digRooms rects m = m //@ map (, floorTile) (mconcat $ map rectanglePoints' rects)
This is very similar to our previous map - we get a list of points, map over them to turn them into (V2, Tile) tuples, and bulk upate the array. Similarly when we have multiple rectangles to dig, we can combine the lists on the Haskell side and update the array only once (rather than having to copy the array N times!).
The library has two functions for getting a list of points contained by a rectangle: rectanglePoints' and rectanglePoints. The first, rectanglePoints, also takes an orientation in which to scan - if you pass Horizontal then it will give you [(0, 0), (1, 0), (2, 0) ... and for Vertical you will get [(0, 0), (0, 1), (0, 2).... rectanglePoints' (with the ') is defined as rectanglePoints' = rectanglePoints Horizontal for the case when we don’t care about the orientation.
Of course we could use a mutable array and do everything in the IO monad and not have to worry about batching updates, but then we are stuck to using IO. Swings and roundabouts. As all of the updates can be constructed independent of the array (i.e. we’re not querying the map to continue building the map), it feels more straightforward to keep things pure.
For corridors, we would like to define just one function that can work either left or right, horizontal or vertical, up or down.
tunnelTiles ::
  Orientation -- from `Rogue.Geometry.Rectangle`
  -> V2
  -> Int
  -> [(V2, Tile)]
tunnelTiles dir p len =
  let dimAdjust = if dir == Horizontal then modifyX else modifyY
      extendingBy index a = if len > 0 then a + index else a + (-index)
  in map (\i -> (dimAdjust (extendingBy i) p ,floorTile)) [0..(abs len)]
Depending on which orientation we want the corridor, we define a local function binding that adjusts the X coordinate for horizontal corridors or the Y coordinate for vertical corridors. We then define a second local function that goes to the right if the length of the tunnel is positive and to the left if it is negative.
Let’s write the functions that apply these lists of tunnel tiles to an Array.
digHorizontalTunnel ::
  V2
  -> Int
  -> Array2D Tile
  -> Array2D Tile
digHorizontalTunnel p len x = x //@ tunnelTiles Horizontal p len

digVerticalTunnel ::
  V2
  -> Int
  -> Array2D Tile
  -> Array2D Tile
digVerticalTunnel p len x = x //@ tunnelTiles Vertical p len
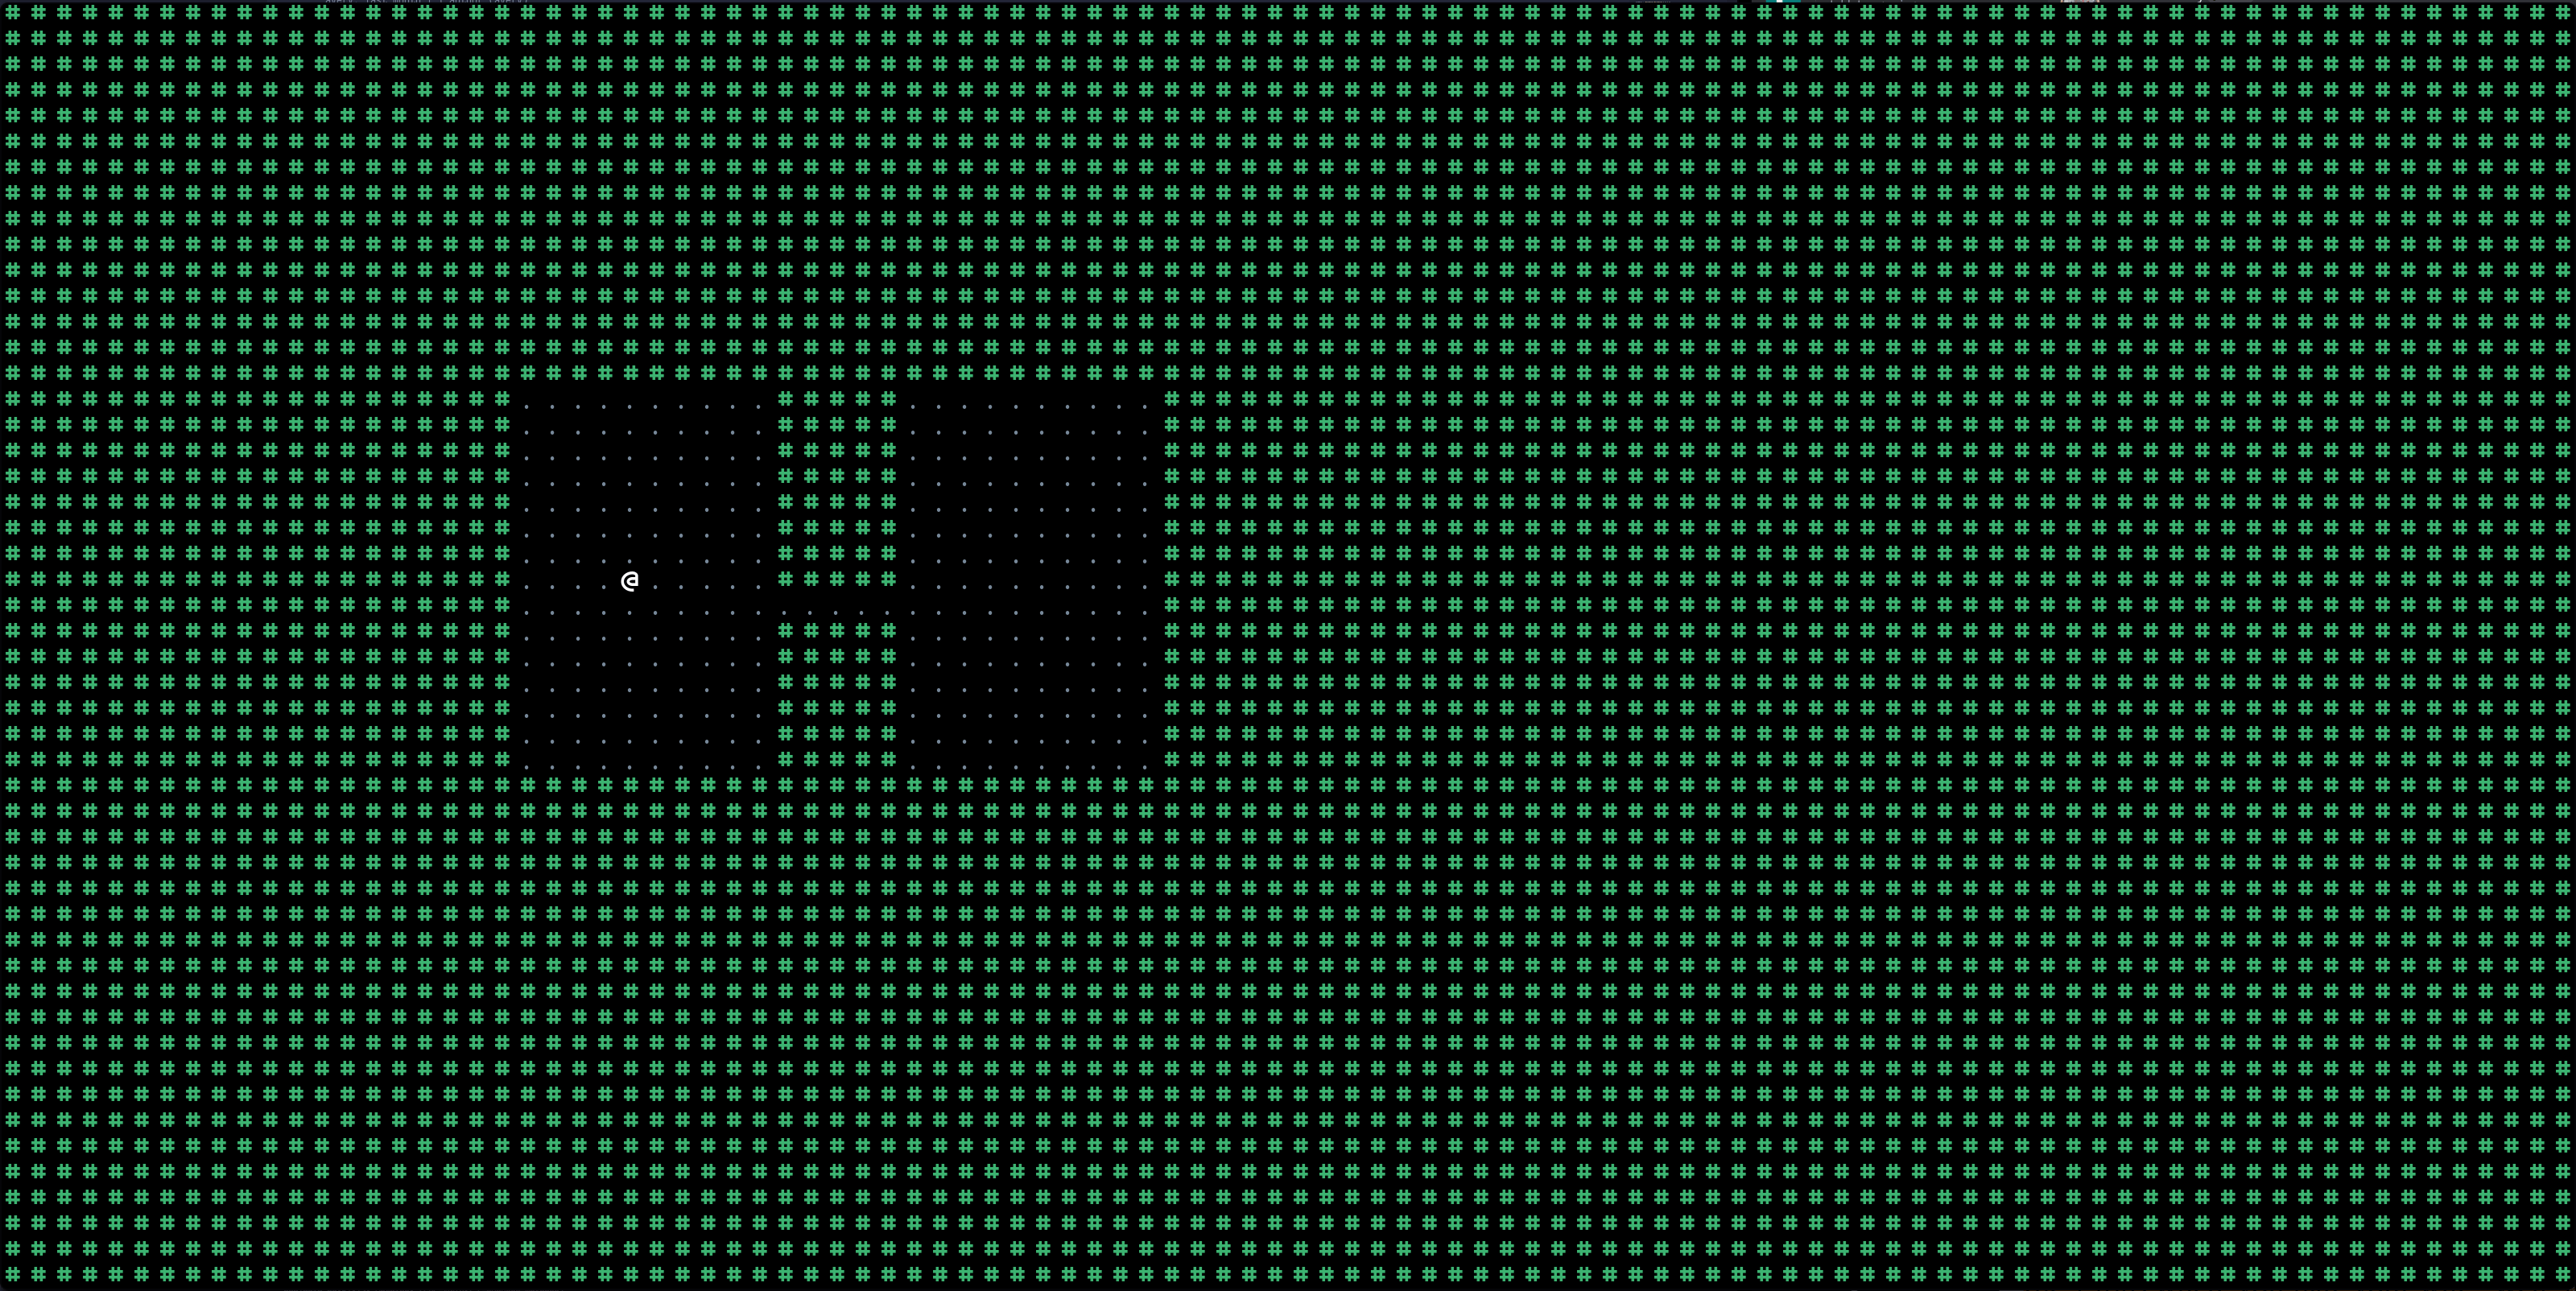
And we’ll test it with a very simple map: 2 rooms, joined by a corridor. As our generators are just functions that go Array2D Tile -> Array2D Tile, we can easily combine them with function composition.
testMap :: V2 -> Array2D Tile
testMap =
  digHorizontalTunnel (V2 25 23) 15
  . digRoom (rectangleFromDimensions (V2 35 15) (V2 10 15))
  . digRoom (rectangleFromDimensions (V2 20 15) (V2 10 15))
  . emptyWallMap
If you update initMap to use testMap, you’ll get the following:
We’re almost done: let’s place these rooms randomly.
Map 3: An actual…dungeon?
Our algorithm for making a simple dungeon will be as follows:
- generate a randomly sized rectangle at a random position
- check to make sure it doesn’t overlap any existing rectangles
- make a corridor between this room and the last placed room (randomly chosen if this corridor will go horizontal then vertical, or vertical then horizontal)
- dig all these tiles out of a map of all walls
- return both the map of tiles and also the list of all the rooms (so that we know where to place the player that isn’t a wall)
We can do this in two parts: generating a plan of what we need to do (and using fold to collapse down a list to a collection of rooms and corridors), and then executing that plan such that we only need to update the array twice.
This will be a little hard to break apart. First, let’s make a random room.
import Data.List.NonEmpty

roomsAndCorridorsMap :: MonadRogue m => Int -> Int -> Int -> V2 -> m (Array2D Tile, NonEmpty Rectangle)
roomsAndCorridorsMap maxRooms minSize maxSize mapSize@(V2 w h) = do
  let makeOneRandomRoom = do
        dims@(V2 rW rH) <- randomV2 (V2 minSize minSize) (V2 maxSize maxSize)
        pos <- randomV2 (V2 1 1) (V2 (w - rW - 2) (h - rH - 2))
        return $ rectangleFromDimensions pos dims
  ...
This doesn’t do any checking to ensure it’s valid yet. We generate a random size (randomV2, unlike randomPoint, does include the maximum as a possible value!) and position - making sure that we don’t try to place it so far to the right or bottom that it’ll overlap the edge of the screen. Then we construct a rectangle from the dimensions.
We combine these two into a function that, when given the work done so far, makes a new random room. If it overlaps, we simply don’t do anything: the existing work is returned as-is. If it fits (it doesn’t intersect any of the existing ones) then we have two cases:
- if this is the first room we’re placing, then don’t make a corridor;
- otherwise there must exist a last room, and we can build a corridor to it.
We switch the order of horizontal and vertical corridors (they will always pair in an L shape, except if the two rooms are on the same axis) to keep things fresh, though as we’re not creating rooms from left to right it doesn’t really matter.
roomsAndCorridorsMap :: MonadRogue m => Int -> Int -> Int -> V2 -> m (Array2D Tile, NonEmpty Rectangle)
roomsAndCorridorsMap maxRooms minSize maxSize mapSize@(V2 w h) = do
  ...
  let makeRoomAndCorridor sofar@(existingRooms, existingCorridors) = do
        room <- makeOneRandomRoom
        let isOk = not $ any (rectanglesIntersect room) existingRooms

        case (isOk, existingRooms) of
          (True, lastRoom:_) -> do
            let V2 nX nY = centre room
                oldCentre@(V2 oX oY) = centre lastRoom
            digHorizontal <- coinFlip

            let twoCorridors = if digHorizontal
                  then [tunnelTiles Horizontal oldCentre (nX - oX), tunnelTiles Vertical (V2 nX oY) (nY - oY)]
                  else [tunnelTiles Vertical oldCentre (nY - oY), tunnelTiles Horizontal (V2 oX nY) (nX - oX)]

            return (room:existingRooms, twoCorridors <> existingCorridors)
          (True, []) -> return (room:existingRooms, existingCorridors)

          _ -> return sofar
coinFlip is another handy function from the Rogue.Random module for generating a random boolean.
Finally we can combine it all together: we fold over the maximum number of rooms, ignoring the actual number, and build up the accumulator.
roomsAndCorridorsMap maxRooms minSize maxSize mapSize@(V2 w h) = do
  ...
  (allRooms, allCorridors) <- foldM (\acc _ -> makeRoomAndCorridor acc) ([], []) [1..maxRooms]
  let mapWithDugRooms = digRooms allRooms $ emptyWallMap mapSize
      mapAllDug = mapWithDugRooms //@ mconcat allCorridors
  return (mapAllDug, fromMaybe (error "room generator made 0 rooms") $ NE.nonEmpty allRooms)
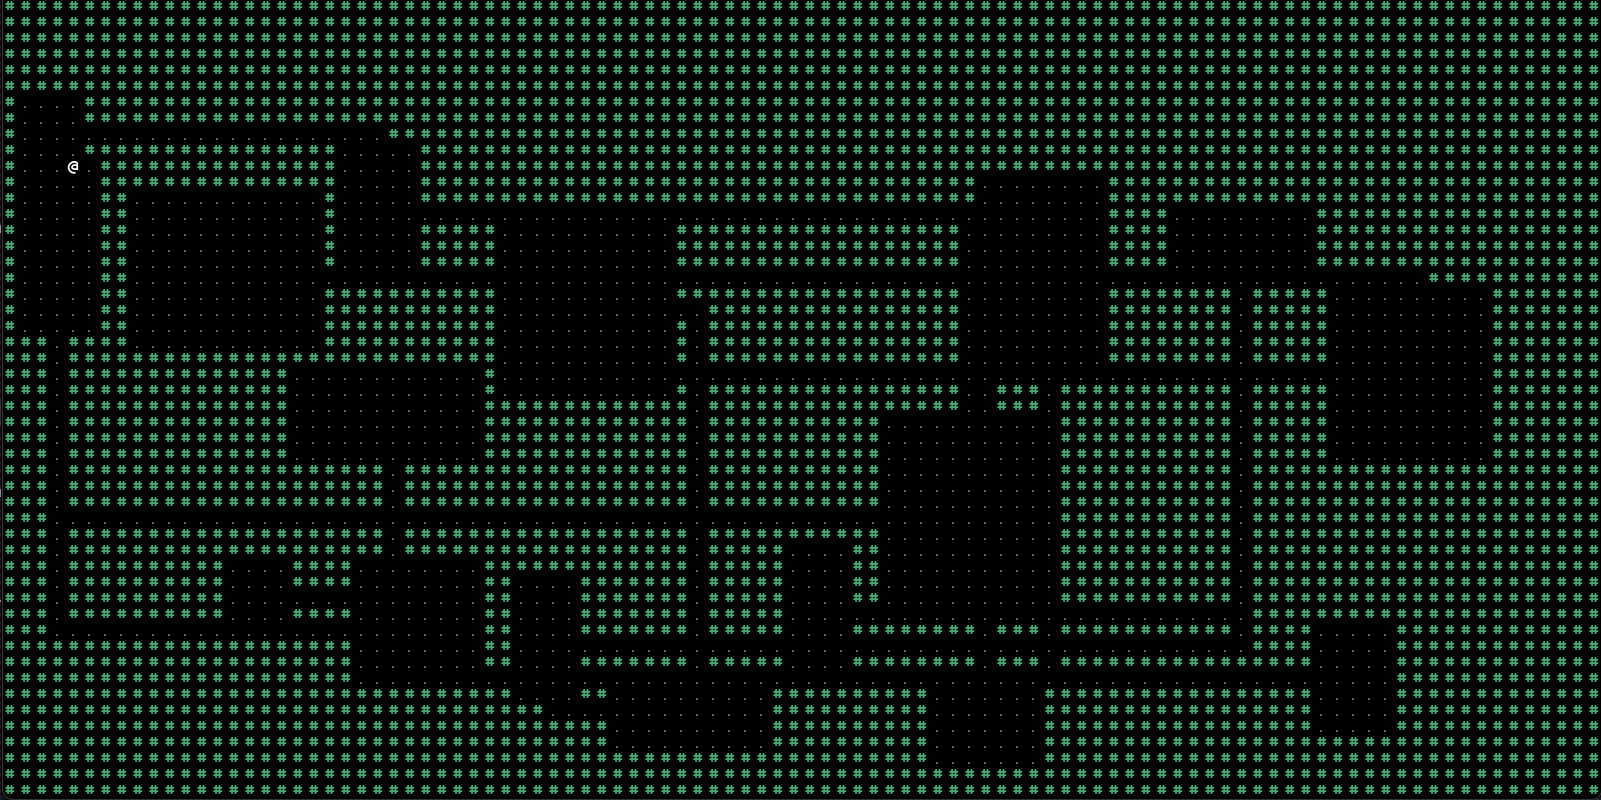
To hook this generator in, we need to do a little extra work - to place the player in one of the rooms so that they aren’t plopped into the middle of a wall. This is the reason we return both an array and a list of rooms.
initGame :: (MonadIO m, MonadRogue m) => m WorldState
initGame = do
  terminalSet_ "font: KreativeSquare.ttf, size=16x16"
  (madeMap, firstRoom:|_) <- roomsAndCorridorsMap 30 4 12 screenSize
  return $
    WorldState
      { playerPosition = centre firstRoom
      , tileMap = Tiles madeMap black
      , pendingQuit = False
      }
Dungeons aren’t great if you can walk through the wall…
Okay, we’re missing one final major thing: the player can walk through walls. That won’t do, so let’s make sure to adjust that.
runLoop :: GameMonad m => m ()
runLoop = do
  ...
    other -> case asMovement other of
      Just dir -> do
        w <- get
        let potentialNewLocation = calculateNewLocation dir (playerPosition w)
            tileAtLocation = tiles (tileMap w) !?@ potentialNewLocation
        case tileAtLocation of
          Just t
            | walkable t ->  modify (\worldState -> worldState { playerPosition = potentialNewLocation })
          _ -> return ()
All we need to do now is to look ahead at the tile we plan to move to and see if it’s walkable; if it is, then we use a pattern guard to simplify if walkable t then....
Yeah, having to write out modify (\worldState -> worldState ...) every time is getting kind of annoying and it’s only going to get more annoying later. We’ll rip that plaster off in the second half of the next part.
Wrapping up
This was a pretty hefty part, but we covered a lot of cool stuff. It’s also probably going to be the last longform part for a while - I’m realising that if I ever want to finish this, I’m going to need to write less than 3000+ words (excluding code samples!) for every single post. I’ll try to avoid dumping code and going “well it’s obvious”!
The code is available at the accompaying GitHub repo here.
Hopefully this was understandable - any feedback is greatly appreciated. You can find me on the various functional programming/roguelike Discords as ppkfs and on Bluesky as @ppkfs.bsky.social.
Feedback is greatly appreciated! Feel free to reach out with any questions or suggestions.
Part 3 will be in 2 parts and we’ll cover project architecture kinda stuff and finally present a solution to the annoyance of nested record updates. Should be up soon!